These 7 Christmas Mason Jar Cozy patterns are FREE and amazing! The jar cozies are perfect Christmas decorations, which one will be your favorite? Thanks to all the designers for sharing these free crochet patterns, really beautiful! To get these 7 Christmas Mason Jar Cozy FREE patterns , please scroll down the page and click the links below the pictures. Happy crocheting!

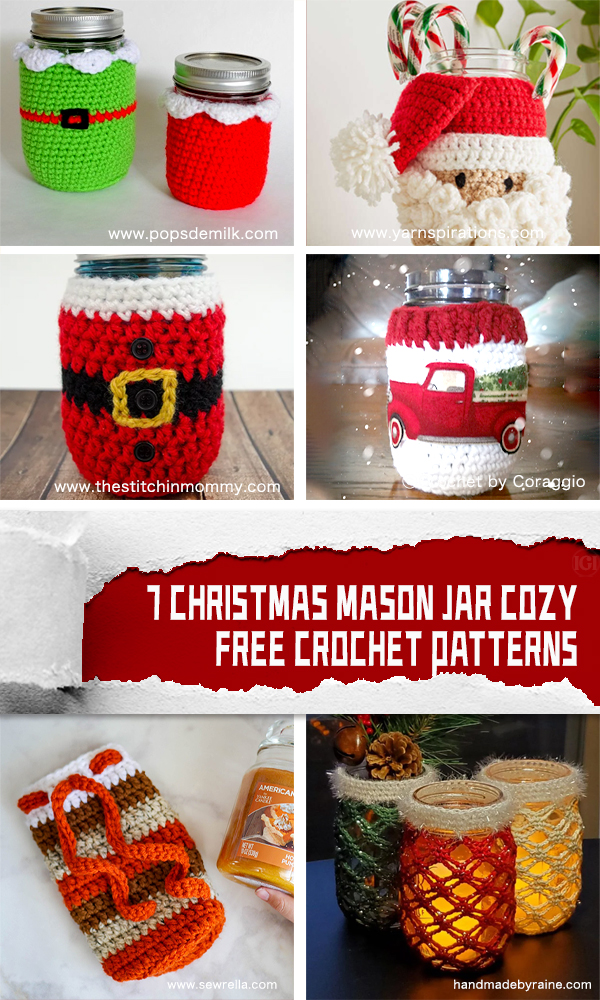
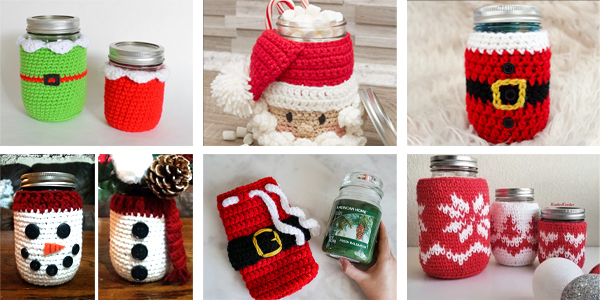
1. The Mason Jar Cozy designed by Popsdemilk is made with Christmas elves as the main element, and uses green as the main color. In the green color, it is embellished with the traditional red belt of Santa Claus. There is also a version that uses red color as the The main element, on which the white yarn is used to make the shape of snow, is very Christmas-like.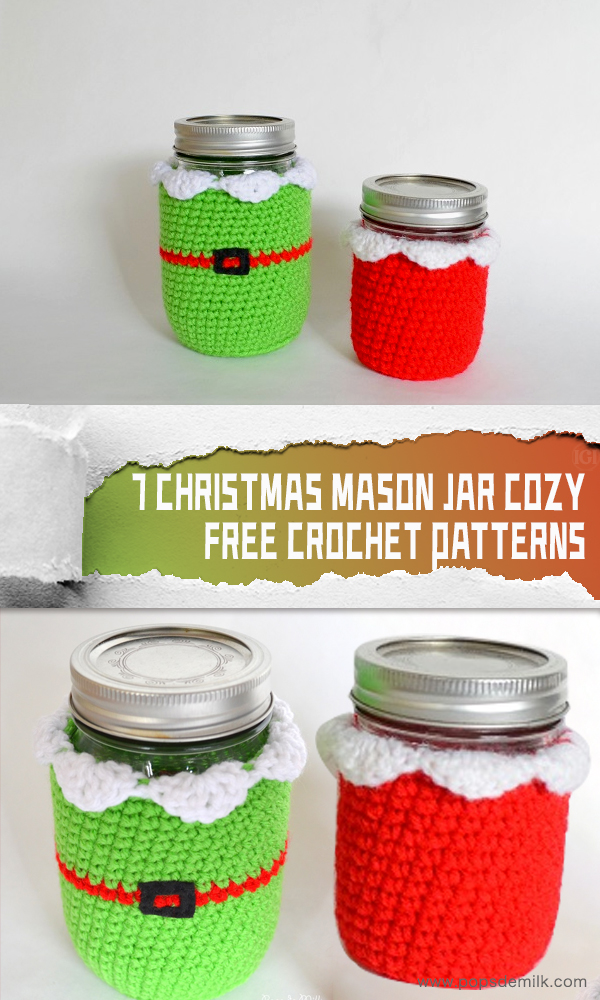

Links to this FREE pattern is here:
Mason Jar Cozy FREE Crochet Pattern 1
2. The Mason Jar Cozy designed by Yarnspirations uses the image of Santa Claus as an element to design the entire face of Santa Claus. It wears a Santa hat and has the traditional white beard of Santa Claus. It is very image-like and very beautiful. It is a very Christmas decoration.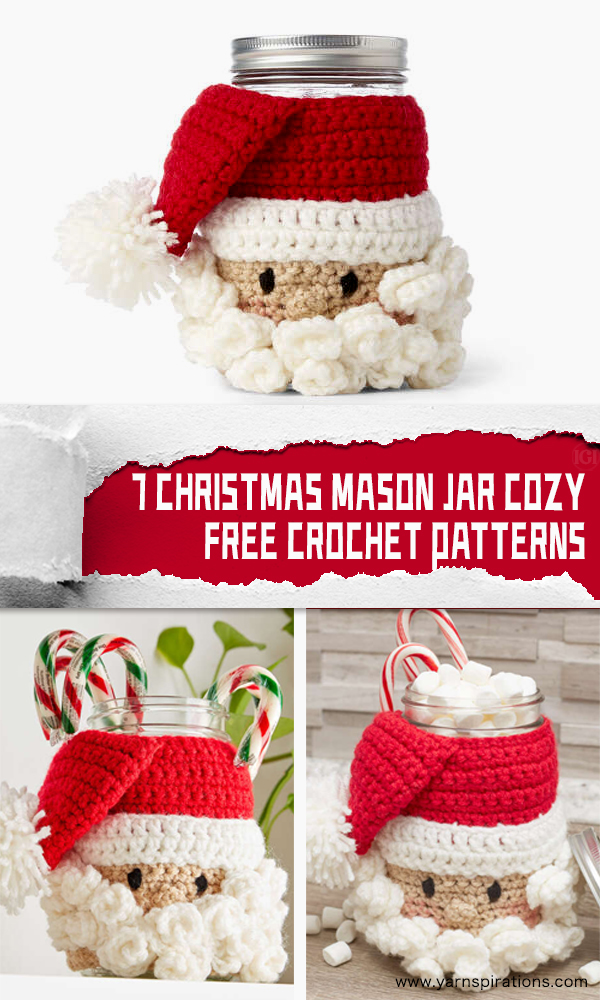

Links to this FREE pattern is here:
Mason Jar Cozy FREE Crochet Pattern 2
3. Mason Jar Cozy designed by Thestitchinmommy is a traditional red dress with a belt, which is made with Santa’s clothes as the main element. It is very in line with the Christmas atmosphere, you can put a few decorations on Christmas time. It is also very simple to make, even beginners can easily complete it.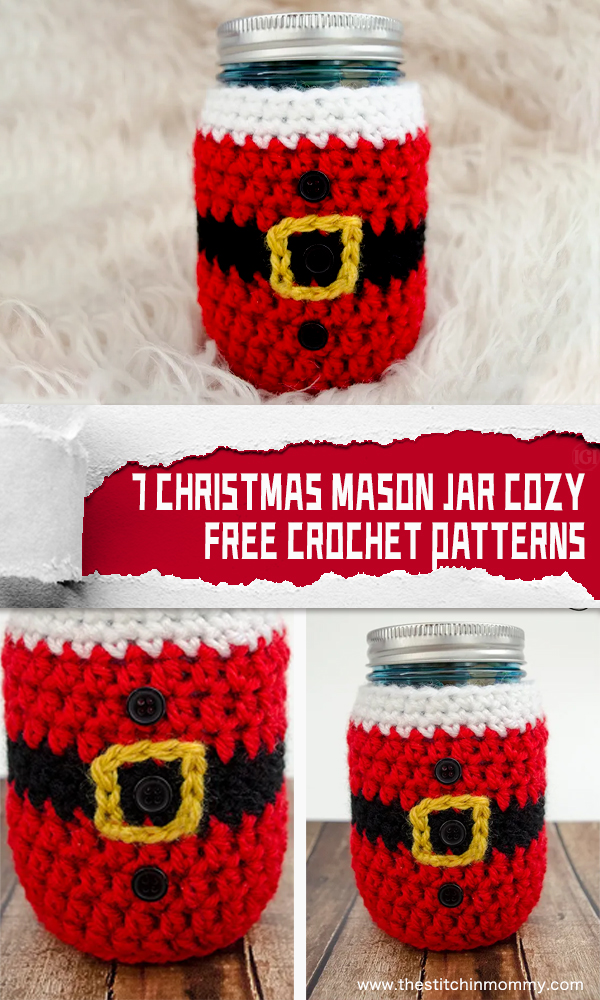

Links to this FREE pattern is here:
Mason Jar Cozy FREE Crochet Pattern 3
4. Mason Jar Cozy by Crochet by Coraggio, which comes in 3 different versions. The first version is mainly made of snowman elements. The white yarn and red scarf are very in line with the Christmas atmosphere. There is also a version that uses the entire snowman’s face as an element, with black eyes, a triangular nose, and a few mouths arranged with buttons, which is very cute. The third version is based on the original white yarn and red yarn, with a red truck pattern on it. These 3 versions are very Christmas atmosphere, you can choose one to make, of course you can also make all of them.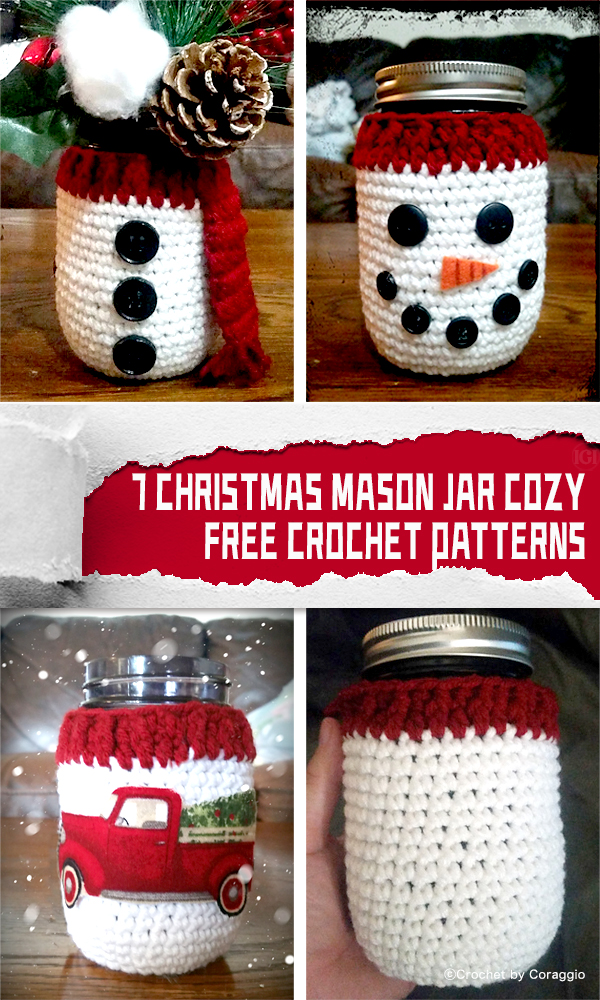

Links to this FREE pattern is here:
Mason Jar Cozy FREE Crochet Pattern 4
5. Mason Jar Cozy by Sewrella comes in two cute versions. The first version, made with a traditional Santa suit, features a drawstring element incorporated into the design. You can add bows all over the top, very nice. The second version is made with elk elements. It uses the colors of elk, white and red as embellishments, which is also very beautiful.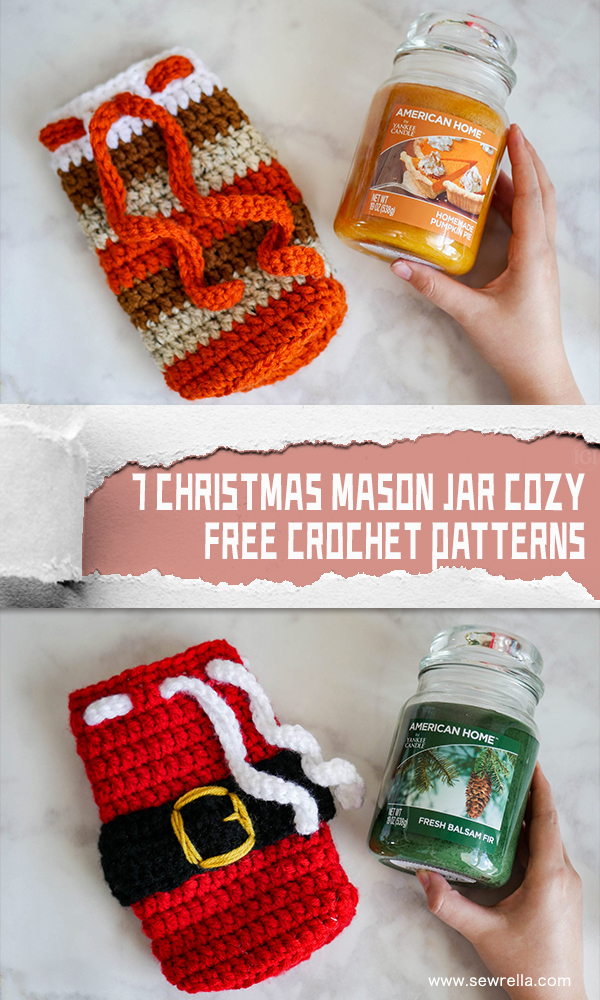

Links to this FREE pattern is here:
Mason Jar Cozy FREE Crochet Pattern 5
6. Mason Jar Cozy designed by Handmadebyraine is a hollow mesh design, you can put candles into the bottle, wrap the bottle with it, and emit beautiful light through the candlelight. You can use different colors of yarn to create different Mason Jar Cozy and top it with white yarn for a pretty finish on the neck of the jar. Very beautiful, and very warm.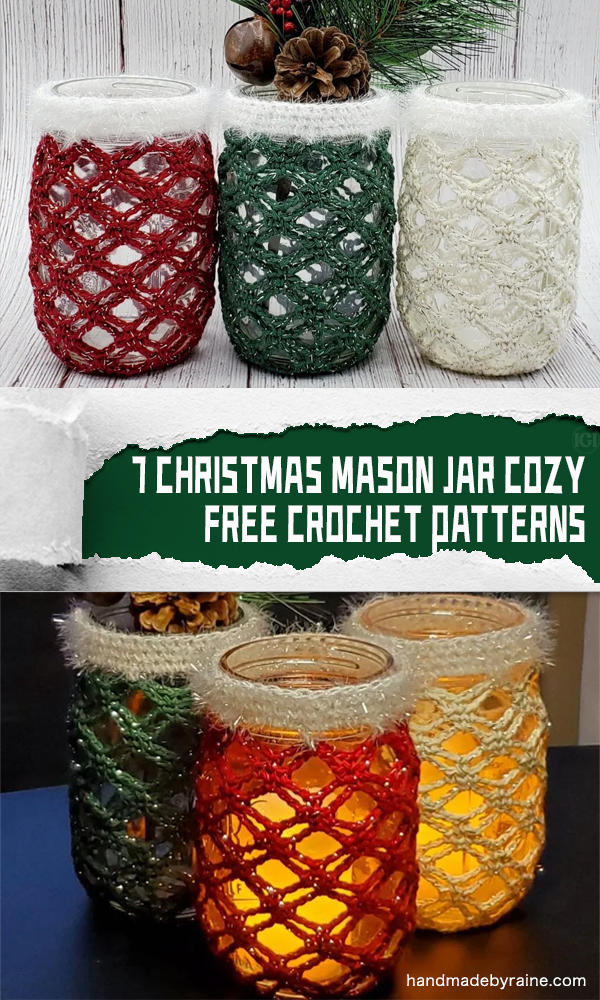

Links to this FREE pattern is here:
Mason Jar Cozy FREE Crochet Pattern 6
7. The Mason Jar Cozy designed by Knitterknotter is relatively simple. It is made with white or red main colors, and on it, it is depicted with snowflakes or Christmas tree graphics. It is very easy to make. It’s perfect for Christmas.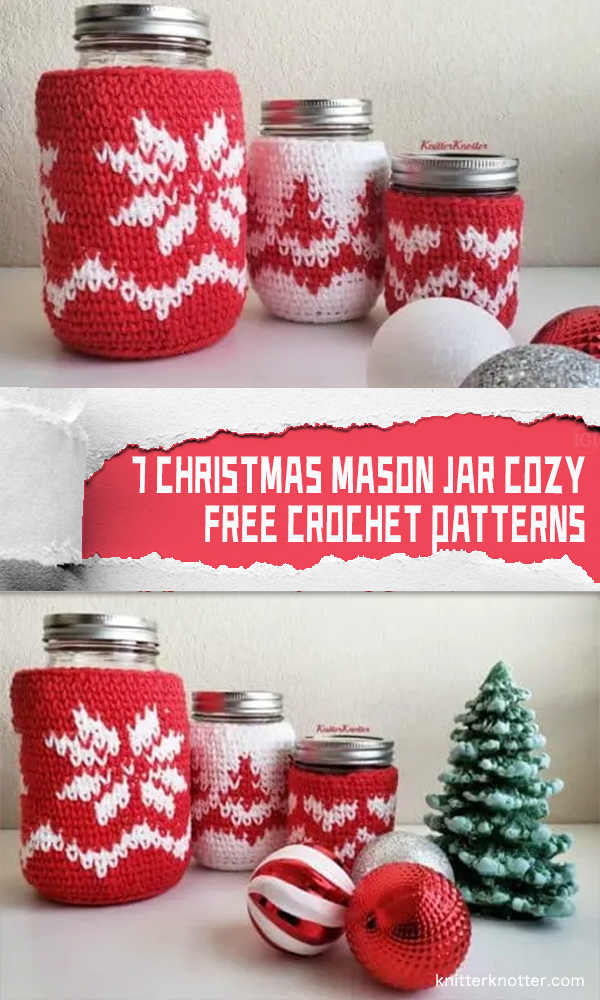

Links to this FREE pattern is here:
Mason Jar Cozy FREE Crochet Pattern 7