Tag Archives: Easter craft

DIY Easter Origami Bunny Tutorial

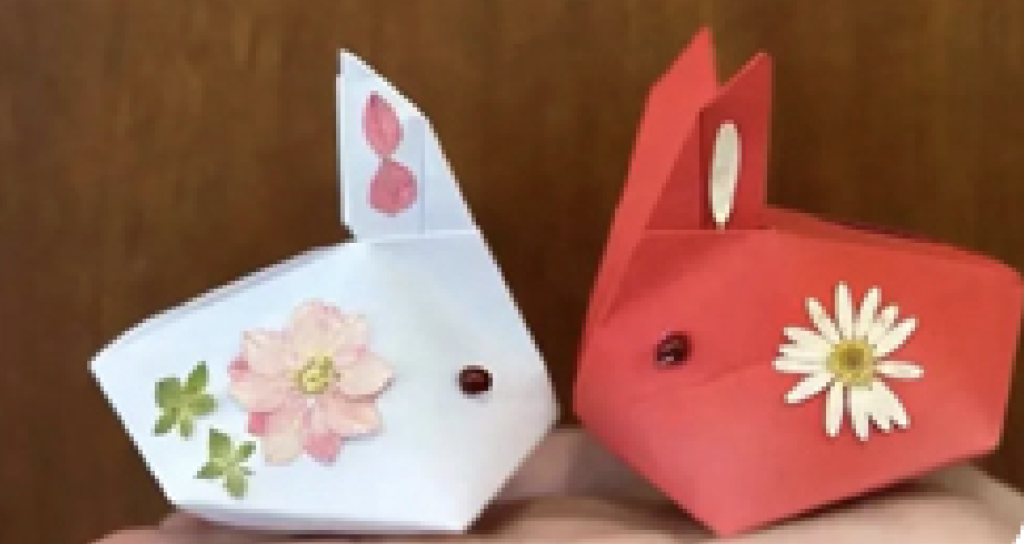
Origami, the ancient Japanese art of paper folding, offers endless possibilities for creating beautiful and intricate designs with just a simple piece of paper. In this tutorial, we will explore how to make an adorable DIY Easter Origami Bunny  , perfect for Easter decorations or as a delightful handmade gift. With just a few folds and a touch of creativity, you can bring this charming bunny to life.

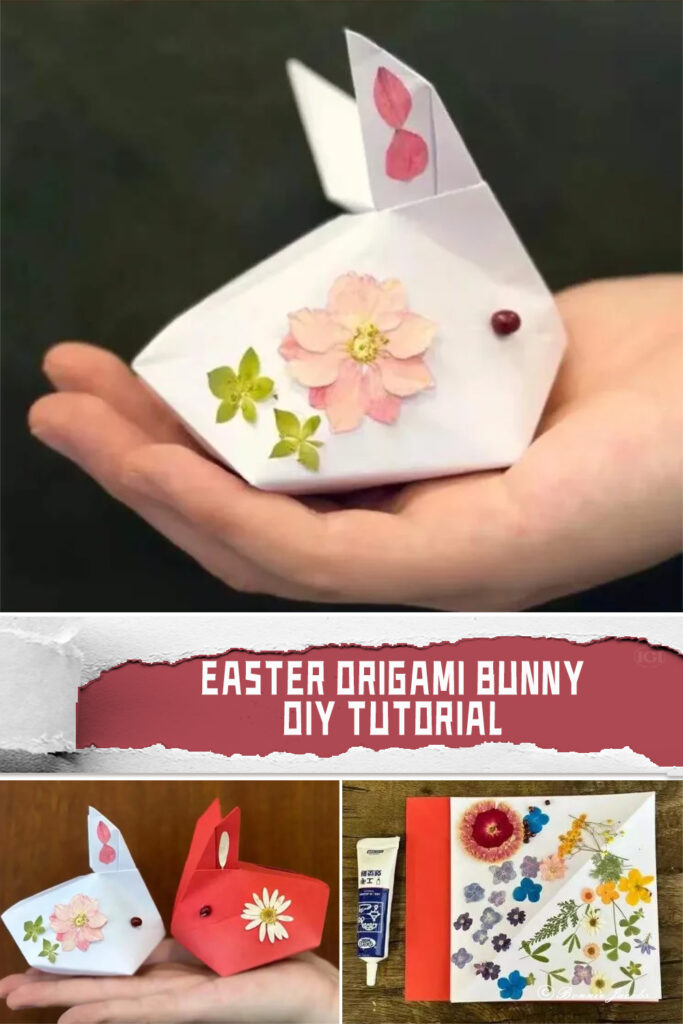
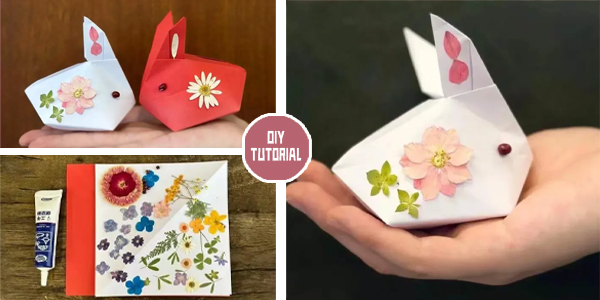
To begin, gather the necessary tools: square paper, dried flowers (optional for decoration), and glue.

Step by step tutorial for  DIY Easter Origami Bunny:

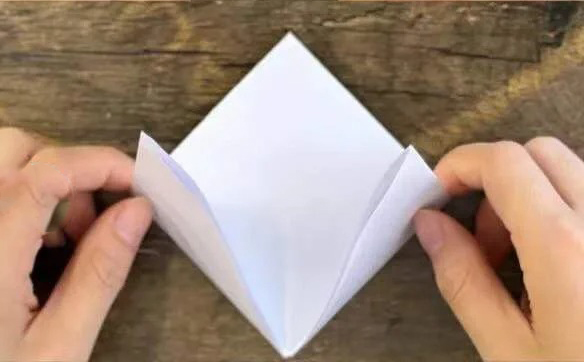
1. Start by preparing your square paper and laying it flat on a clean surface.

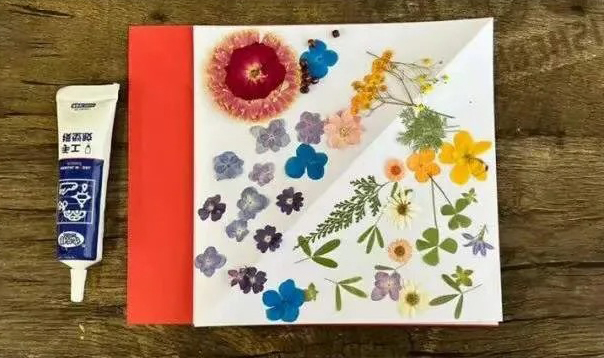
2. Fold the paper diagonally to create a triangle, creasing along the fold to mark the center.

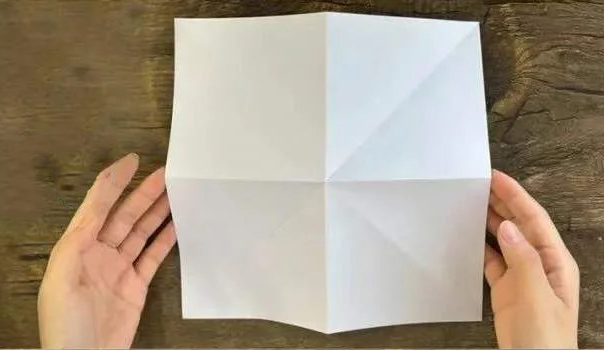
3. Fold the left and right corners of the triangle towards the center, forming two smaller triangles at the bottom.

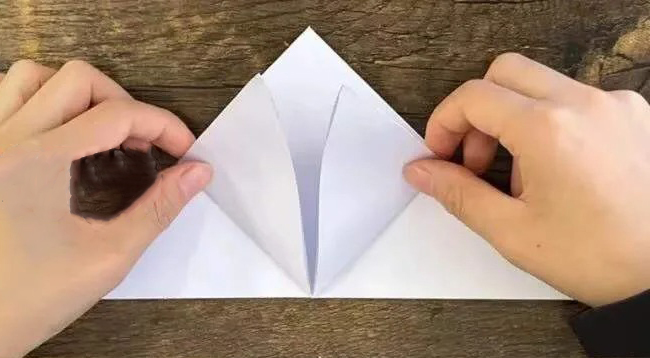
4. Take the bottom corners of the two smaller triangles and fold them backward, creating a pointed shape.

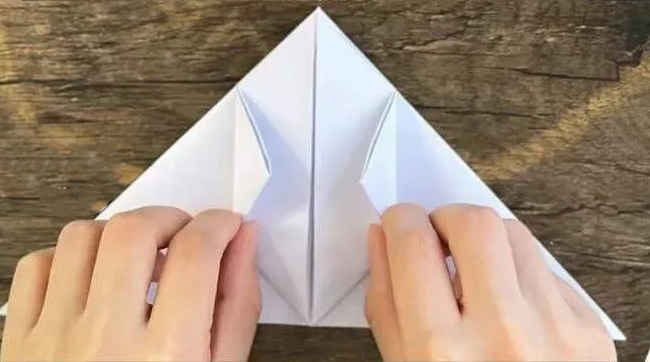
5. Next, fold the top point of the triangle downwards, creasing it firmly.

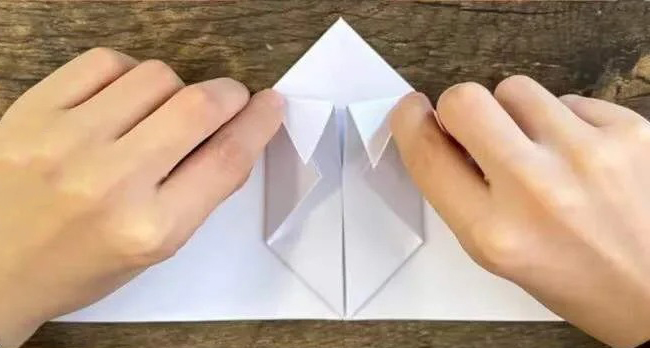
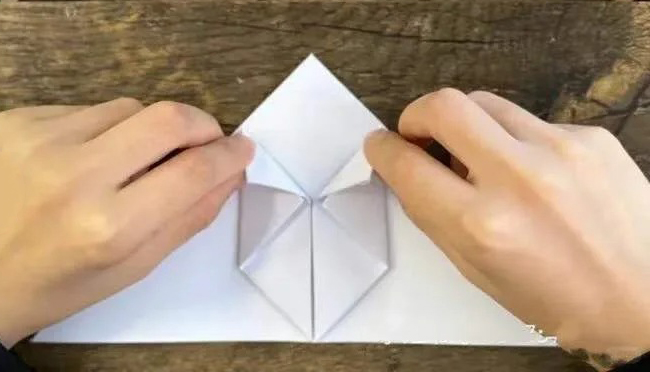
6. Fold the two side corners of the triangle inwards, aligning them with the center crease.

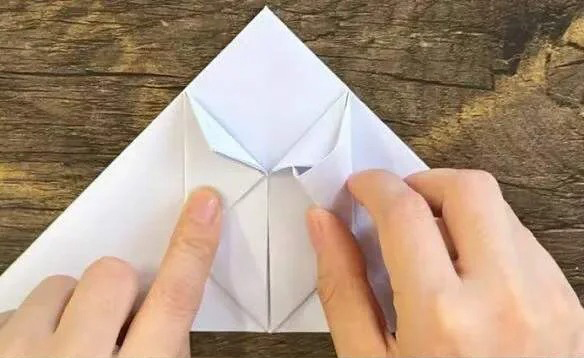
7. Tuck the folded corners into the slots created by the previous folds, securing them in place.

8. Flip the paper over and fold the bottom corners of the triangle upwards, creating the bunny’s feet.

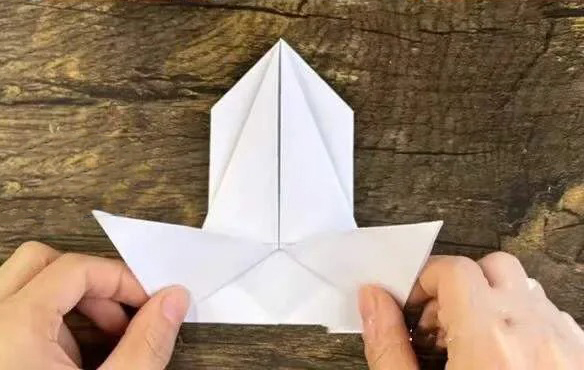
9. Fold the top point of the triangle downwards once again, shaping it into the bunny’s head.

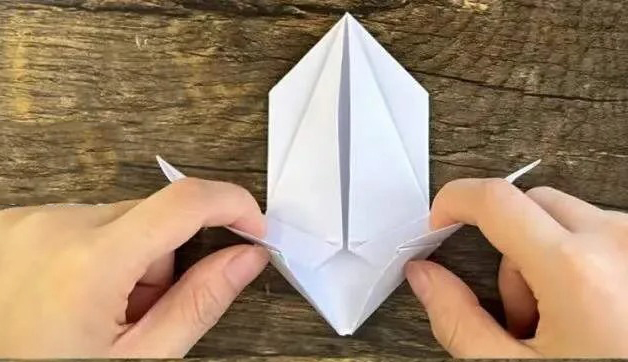
10. Using the creases as a guide, fold the bunny’s ears outward, giving them a cute and floppy appearance.

11. Finally, add a touch of whimsy to your origami bunny by decorating it with dried flowers or other embellishments. Simply apply a small amount of glue to the desired area and carefully attach the decorations.

Voila! Your DIY Easter origami bunny is complete, ready to bring joy and charm to any Easter celebration or decoration. This simple yet delightful craft is sure to impress with its intricate folds and playful design. So gather your materials, unleash your creativity, and enjoy the satisfying process of creating your very own origami masterpiece. Happy folding!

YOU MAY ALSO LOVE: DIY Origami Mini Tote Bag Tutorial

DIY Origami Pearl Crown Tutorial

Sharing is Caring:

DIY Happy Swinging Bunny Tutorial

Are you ready to embark on a delightful crafting journey? Let’s dive into creating a Happy Swinging Bunny! With just a few simple materials and a touch of creativity, you can bring this adorable bunny to life and add a sprinkle of joy to any space. Follow along with these step-by-step instructions to craft your own charming swinging bunny decoration:

1. To begin, gather a circular piece of cardstock. Fold it neatly in half, forming a perfect semi-circle. This will serve as the base of your swinging bunny’s crib, providing stability and support for the whimsical creation to come.

2. Now, it’s time to fashion the bunny’s head. Take another circular piece of cardstock and carefully cut out the shape of bunny ears from a fresh sheet of cardstock. These ears will give your swinging bunny its distinctive charm and personality.

3. For the bunny’s hands, use two small circular pieces of cardstock. These will be attached to the swinging mechanism, allowing your bunny to playfully sway back and forth.

4. With the basic structure in place, it’s time to add some color and character to your swinging bunny. Grab a paintbrush and gently brush on vibrant hues to the bunny’s ears, infusing them with life and vibrancy. Then, affix eyes, a cute little nose, and any other decorative elements you desire to give your bunny its unique flair.

5. To complete the look, adorn the semi-circle cardstock base with whimsical plant decorations. Whether it’s colorful flowers, lush greenery, or tiny mushrooms, these additions will elevate your swinging bunny’s charm and create a delightful scene for it to inhabit.

Voila! With a few simple steps, your DIY Happy Swinging Bunny is ready to spread joy and cheer wherever it goes. Hang it in a nursery to enchant little ones, display it in a cozy corner of your home to brighten up your day, or gift it to a loved one as a token of your affection. Get creative with colors, patterns, and decorations to make your swinging bunny truly one-of-a-kind. Enjoy the process of crafting and let your imagination run wild as you bring this charming creation to life!

Here is the video tutorial for  DIY Happy Swinging Bunny:


YOU MAY ALSO LOVE:   DIY Christmas Star Tree Tutorial

DIY Easter Paper Chicken Egg Tutorial

Sharing is Caring: