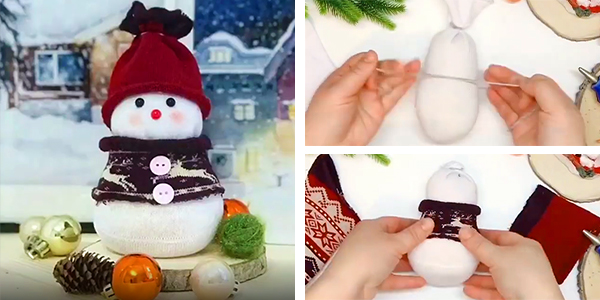
There are many methods and materials for making a snowman, such as crocheting a snowman, knitting a snowman, sewing a snowman, and making a snowman from a cup. . . We introduced snowman making with balloons and yarn the other day. . . Today we are sharing how to make a DIY Sock Snowman with socks. This sock snowman is very small and cute. This tutorial is very simple and very suitable for children to DIY, come and learn together.
For this DIY Sock Snowman project , what you will need:
Two pairs of socks, scissors, cotton (or rice), thread, glue and buttons
1. First, we prepare a pair of white socks that we don’t wear. Cut it with scissors.
2. Put stuffing (cotton, rice, etc.) in the socks and choose the material yourself. Tighten the sock with a string.
3. Put a piece of rope into the stuffed socks and divide it into the head and body of the snowman.
4. Take a pair of unused red socks with Christmas elements and cut them open.
5. Put the cut red socks on the snowman’s body as the snowman’s clothes. It can be stuck with glue (glue gun). I
6. Use another part of the red socks on the snowman’s head. As the snowman’s hat, you can stick it with glue (glue gun) and tie the gap with a rope.
7. On the snowman’s face (white socks), make the eyes and nose (you can use small beads of different colors, small buttons, etc.). You can even paint a little blush on the snowman with makeup.
8. Sew the buttons on the snowman’s clothes as the buttons of the snowman’s clothes. So our snowman is ready.

2 thoughts on “DIY Sock Snowman Turorial”