Looking for a fun and creative way to decorate for Easter? Why not try making your own DIY Easter 3D Egg? With just a few simple materials and easy-to-follow steps, you can craft charming Easter decorations that will delight friends and family alike.
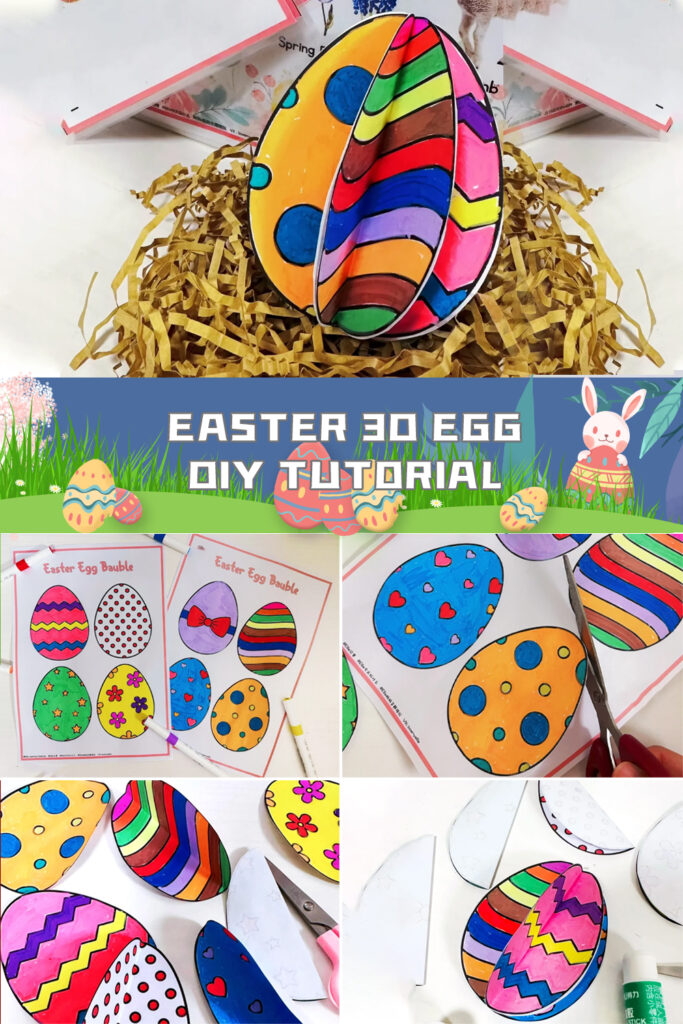 Here’s a step-by-step guide to creating your very own 3D Easter eggs:
1. Print or draw egg images, or simply color them in with your favorite hues. Choose vibrant colors and patterns to make your eggs truly eye-catching.
![]()
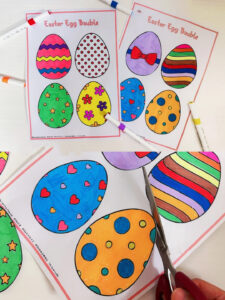
2. Carefully cut out eight egg shapes using scissors. Take your time to ensure smooth edges and even shapes.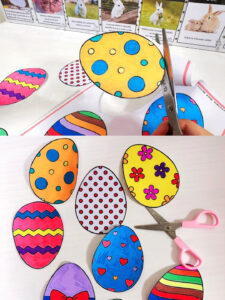
3. Fold each egg shape in half, creasing along the center to create a distinct fold.
4. Apply adhesive to one half of each egg shape, then carefully attach them together, ensuring that the decorated sides are facing outwards. This will form a circular shape, resembling half of a 3D egg.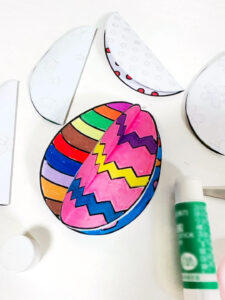
5.Gently open up each egg shape, allowing them to unfold and form a three-dimensional egg. Adjust the folds as needed to create a rounded, egg-like shape.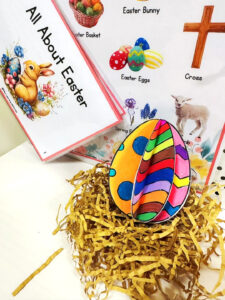
And there you have it – your very own homemade 3D Easter eggs! These charming decorations can be displayed in a variety of ways, from hanging them on branches or string to scattering them across your Easter table as festive accents. Get creative with different colors, patterns, and sizes to make a unique collection of Easter eggs that will brighten up any space.
Whether you’re crafting with kids as a fun holiday activity or simply looking to add a personal touch to your Easter decor, making 3D Easter eggs is a delightful and rewarding DIY project. So gather your materials, unleash your creativity, and enjoy making these adorable Easter decorations that are sure to bring joy and cheer to your home during the holiday season. Happy crafting!

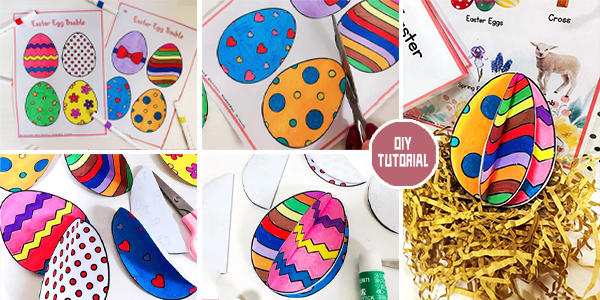
[…] How to DIY Easter 3D Egg […]
[…] You might also like: DIY Easter 3D Egg Tutorial […]
Comments are closed.