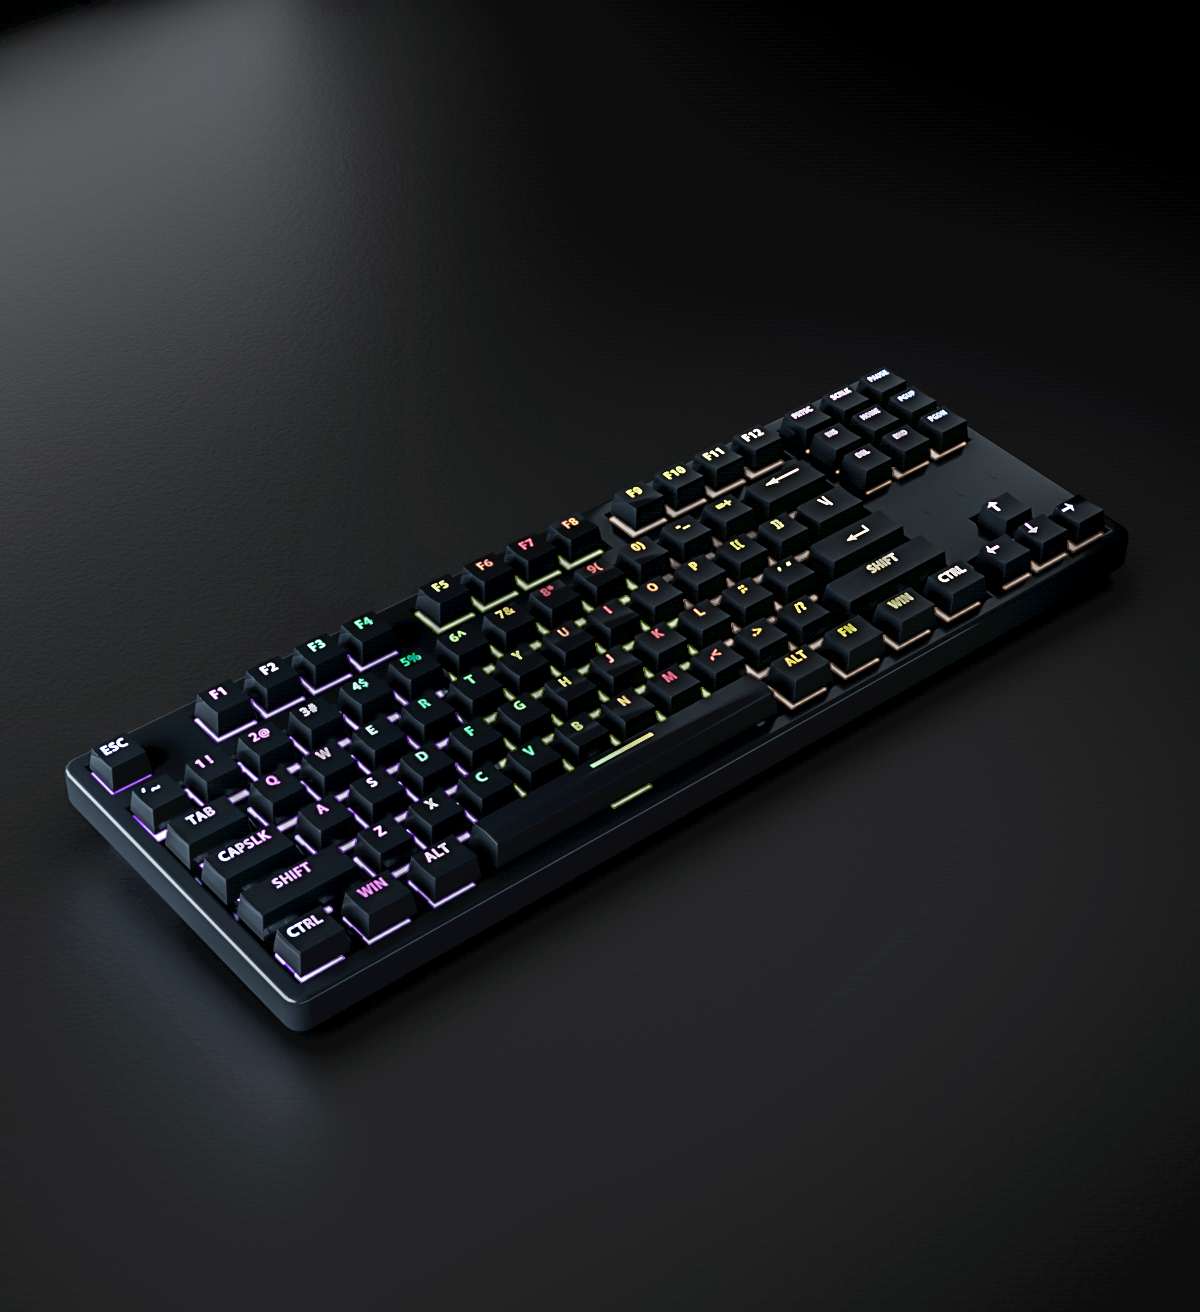
Today we are going to design a keyboard that is realistic. The tools we need are C4D and PS. A keyboard is an instruction and data input device used to operate computer equipment, and also refers to a group of function keys (such as typewriters, computer keyboards) that are arranged to operate a machine or equipment through a system. In simple terms, a keyboard is an input device for a computer, consisting of an array of key switches.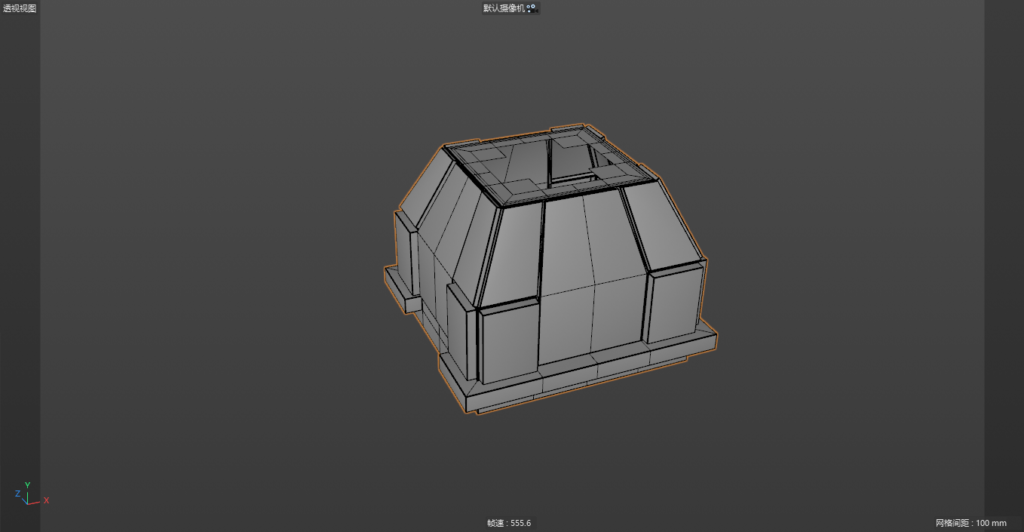
1. First, we use C4D to make the model of the keyboard. First of all, we first make a bottom axis of the keyboard, because the bottom axis of the keyboard is almost the same, so we only need to do one, and the others can be copied.
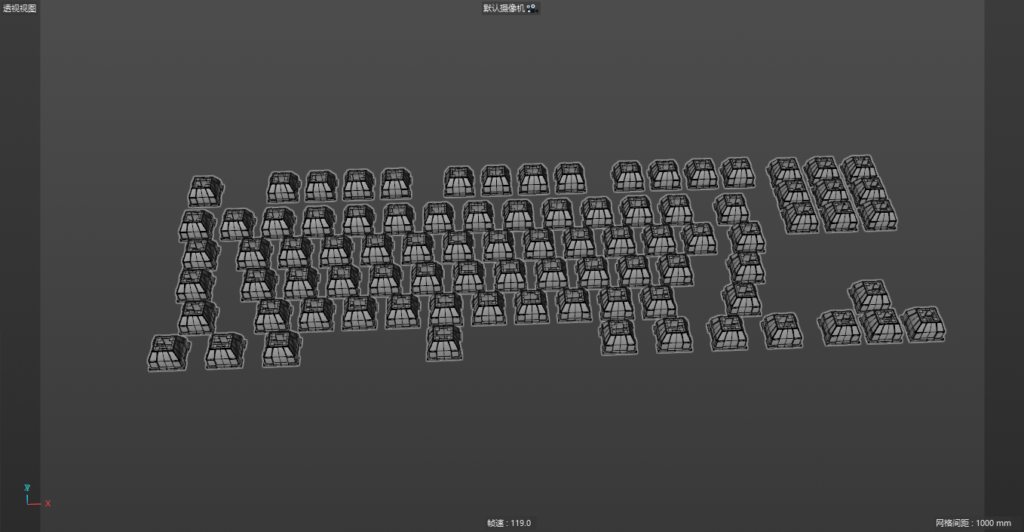
2. We copy the finished bottom axis into several pieces and sort them according to the keyboard order. 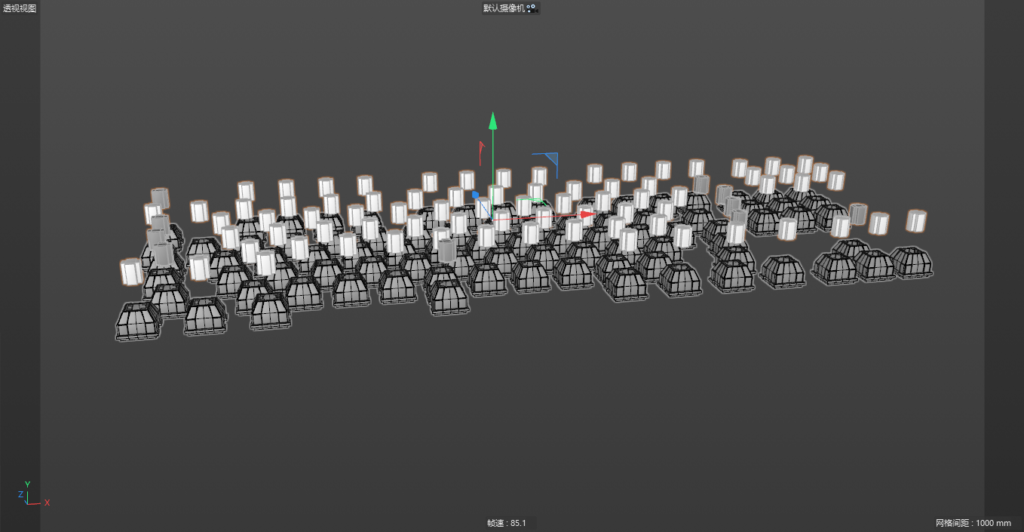
3. In order to pursue the details, we will also make the axis of the keyboard. And it is arranged according to one axis of each bottom axis. 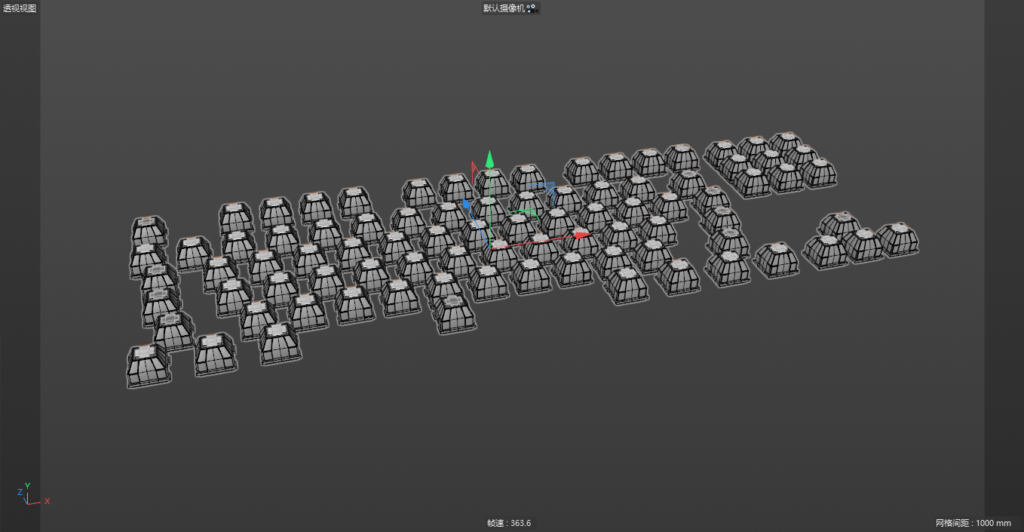
4. We insert the shaft into the middle of the finished bottom shaft. 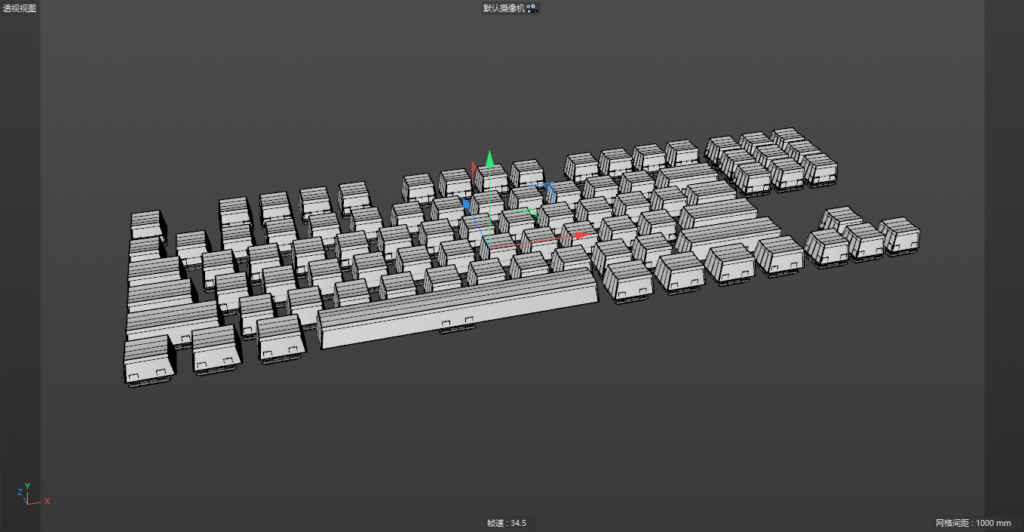
5. After doing this, we also need to make the keycaps of the keyboard. And also sort by sort.
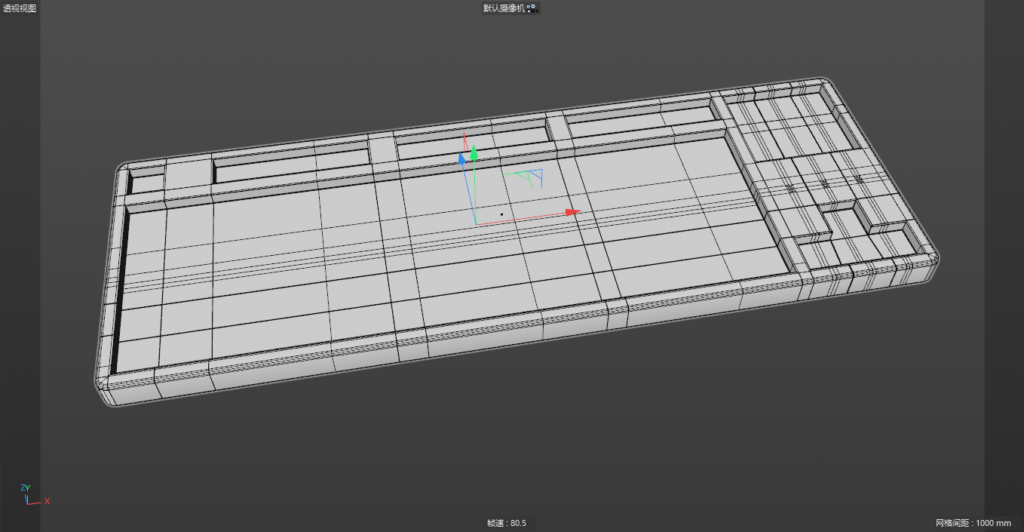
6. Let’s hide the axis series first. We make a base according to the appearance of a real keyboard. At this time, we can refer to the real keyboard to make the base.
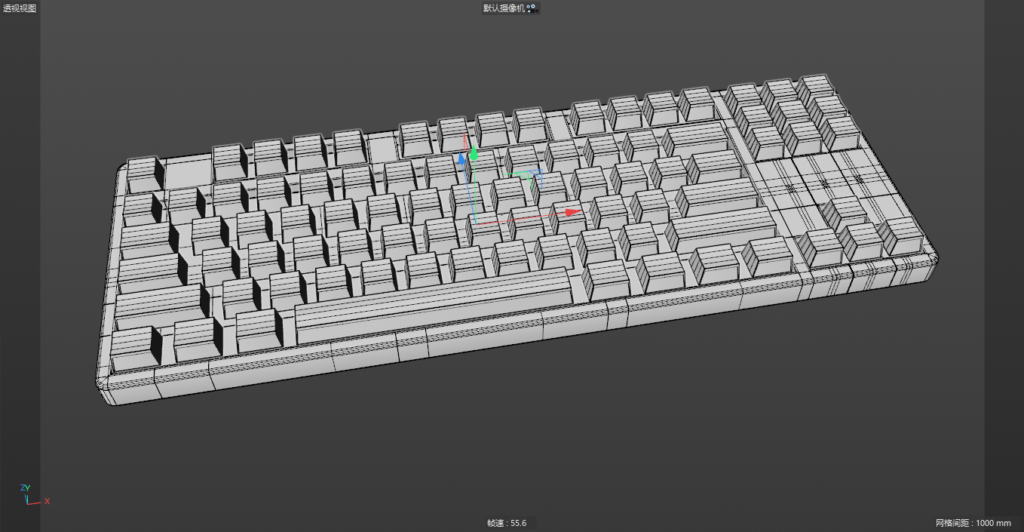
7. Then we put the finished shaft series into the base and adjust the position appropriately. Of course, everything is in the calculation.
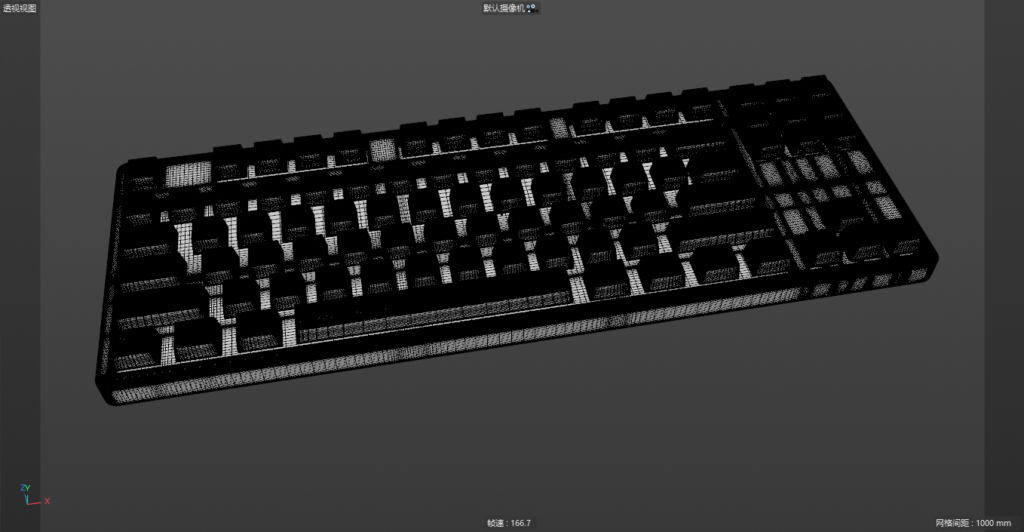
8. We will perform subdivision surface operations on these well-made parts.
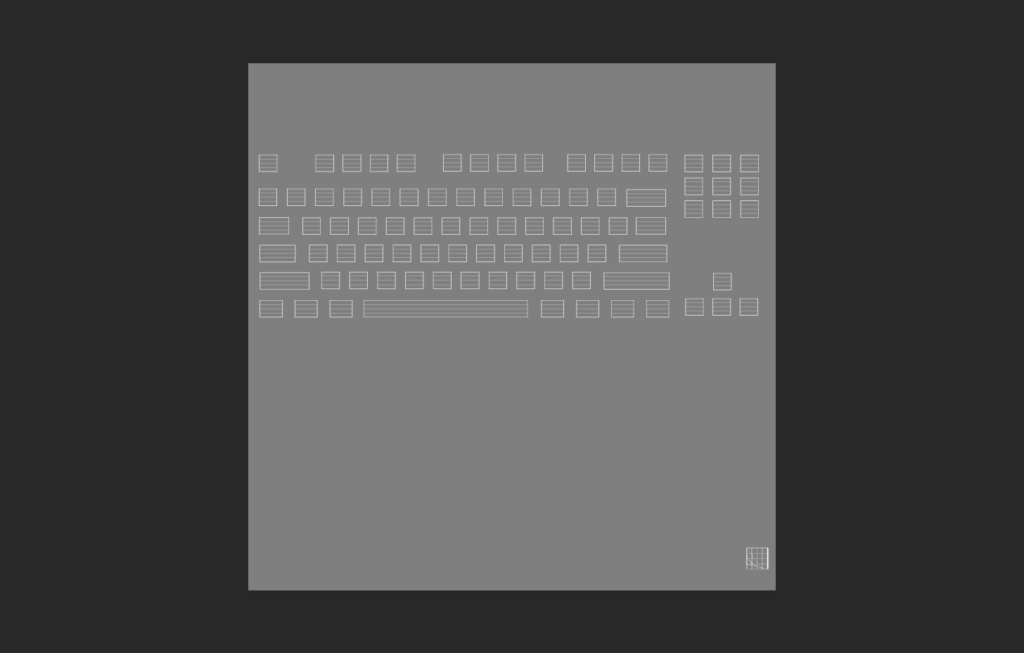
9. Next, we should use PS software to make the letters on the keyboard. At this time, you can export the UV texture map and put it into PS.
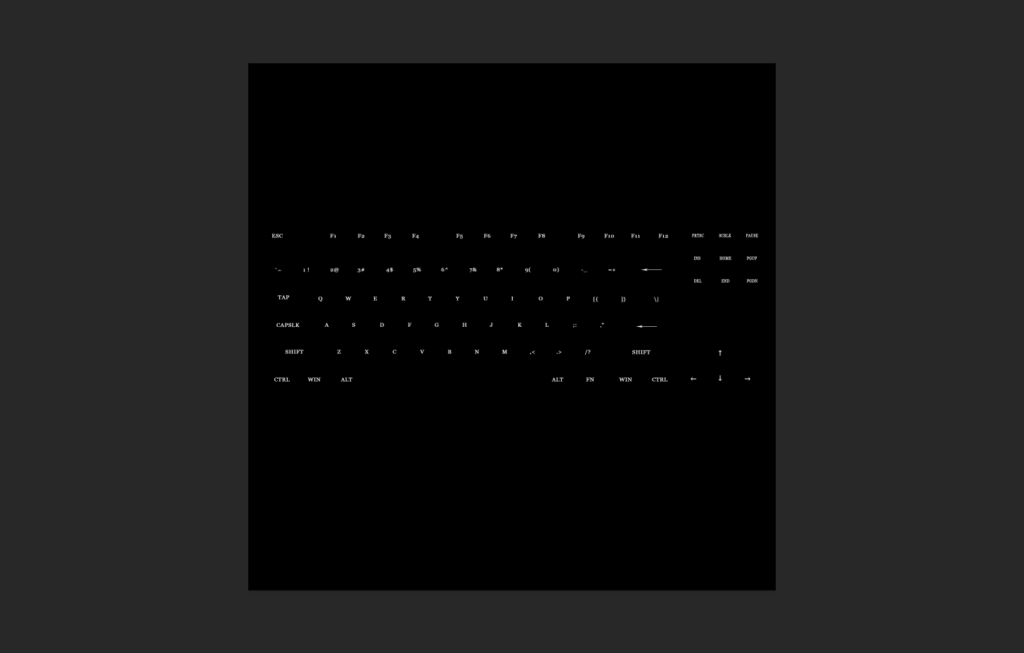
10. We will fill in the letters in the UV texture map in the actual order. And export black and white images.
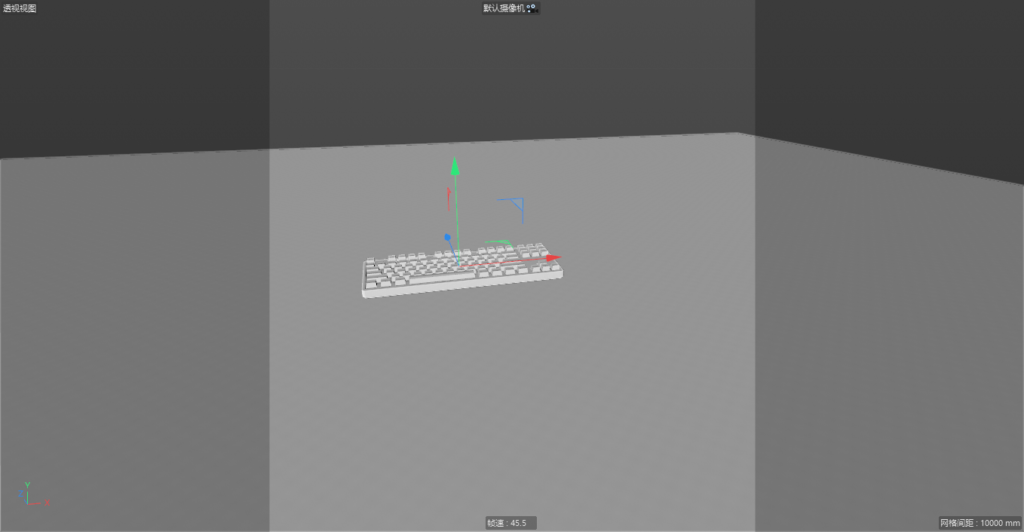 11. We put the finished keyboard on a plane in C4D.
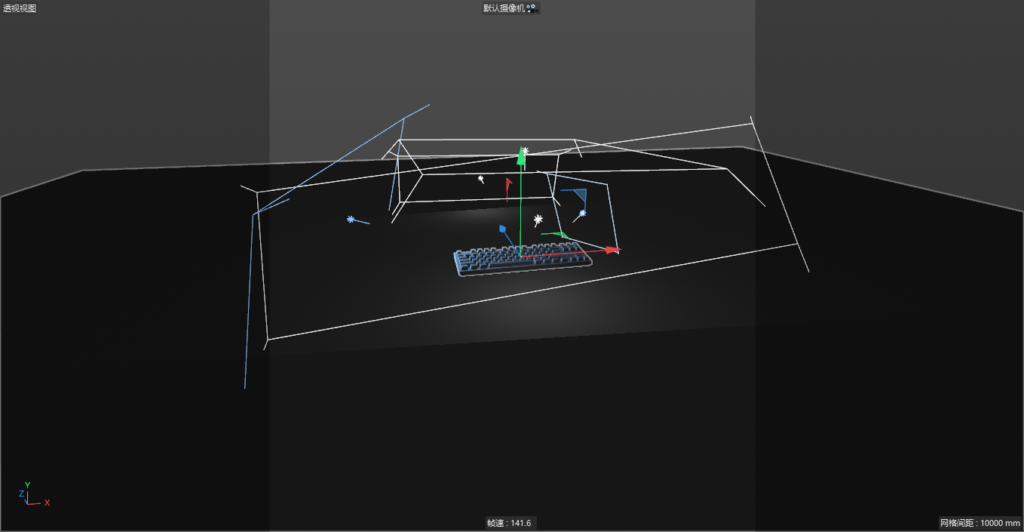
12. We set up the light and put the previous black and white image into the material.
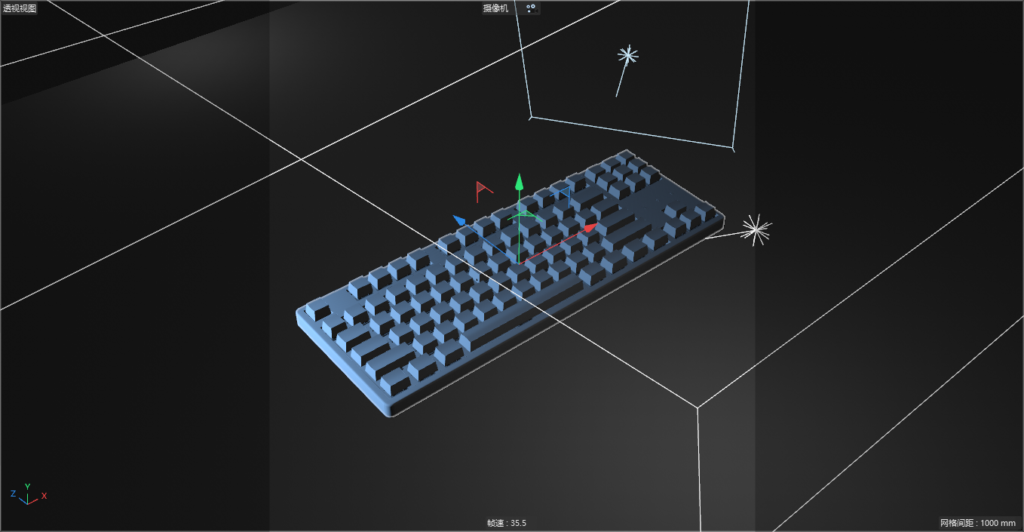
13. Adjust the angle of the camera to find the one you need.
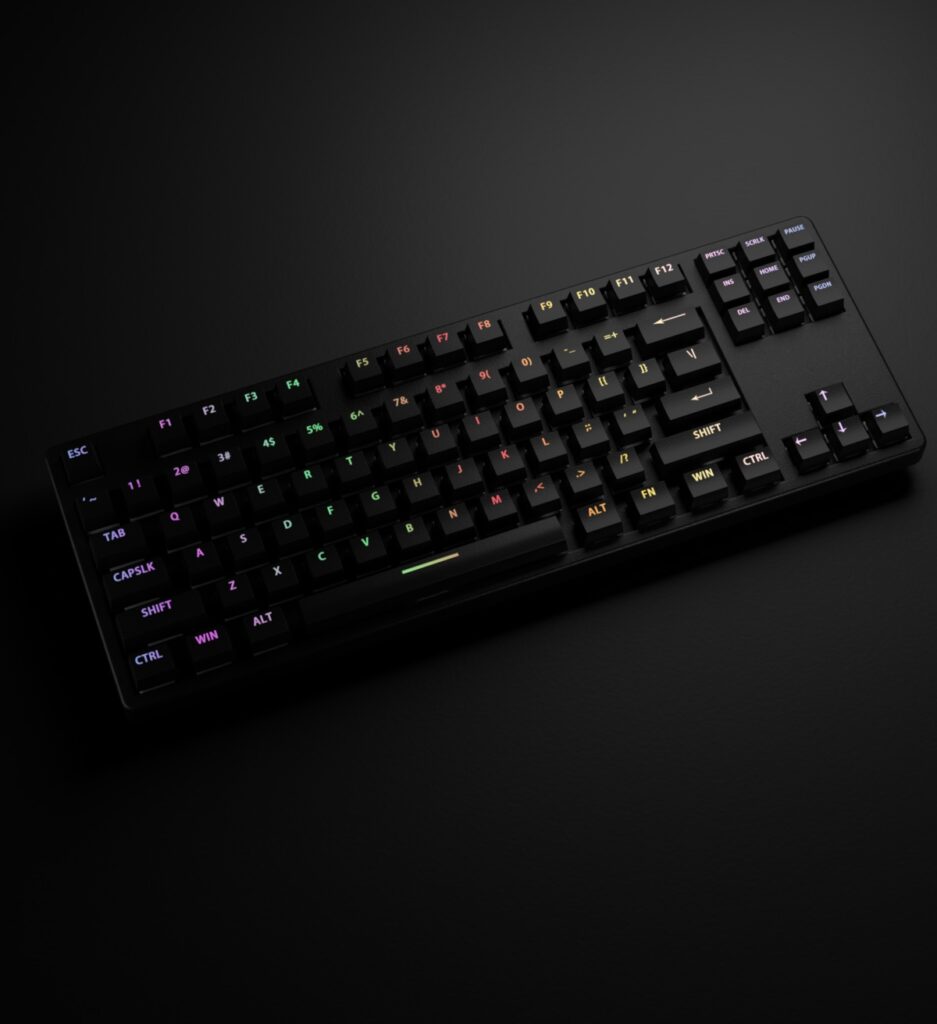
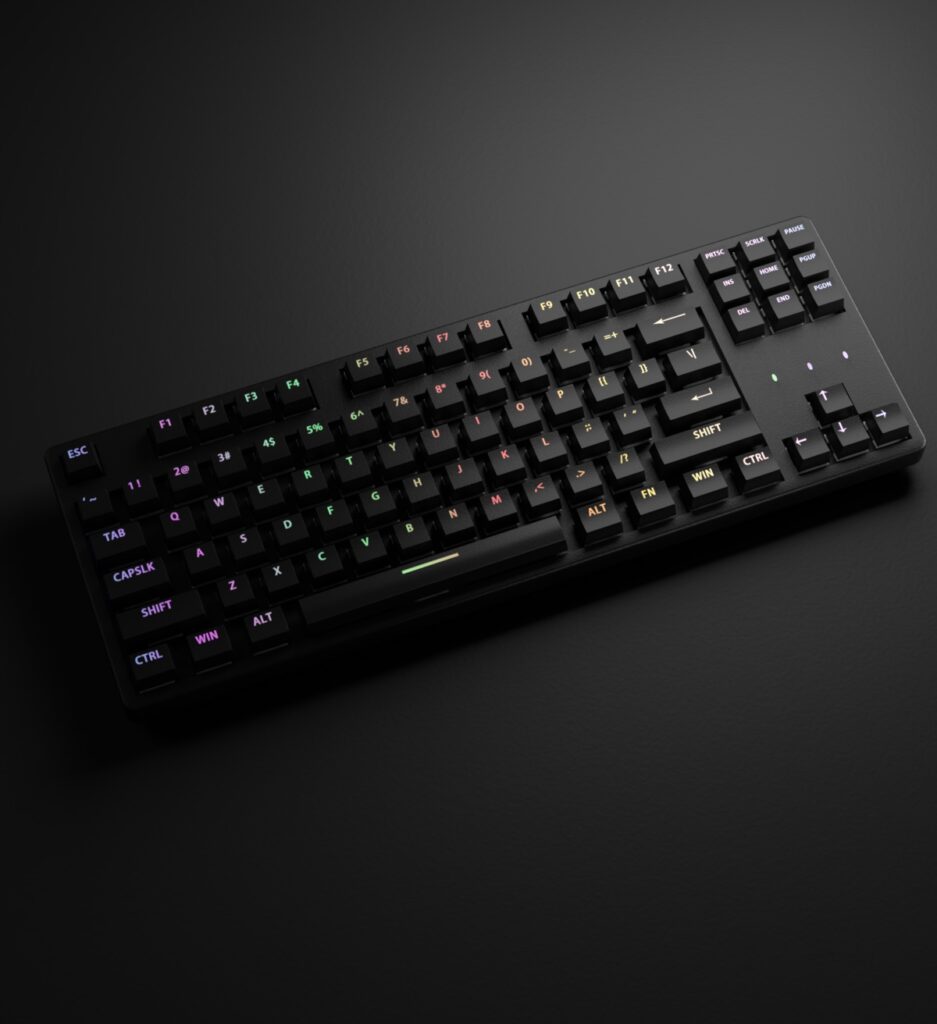
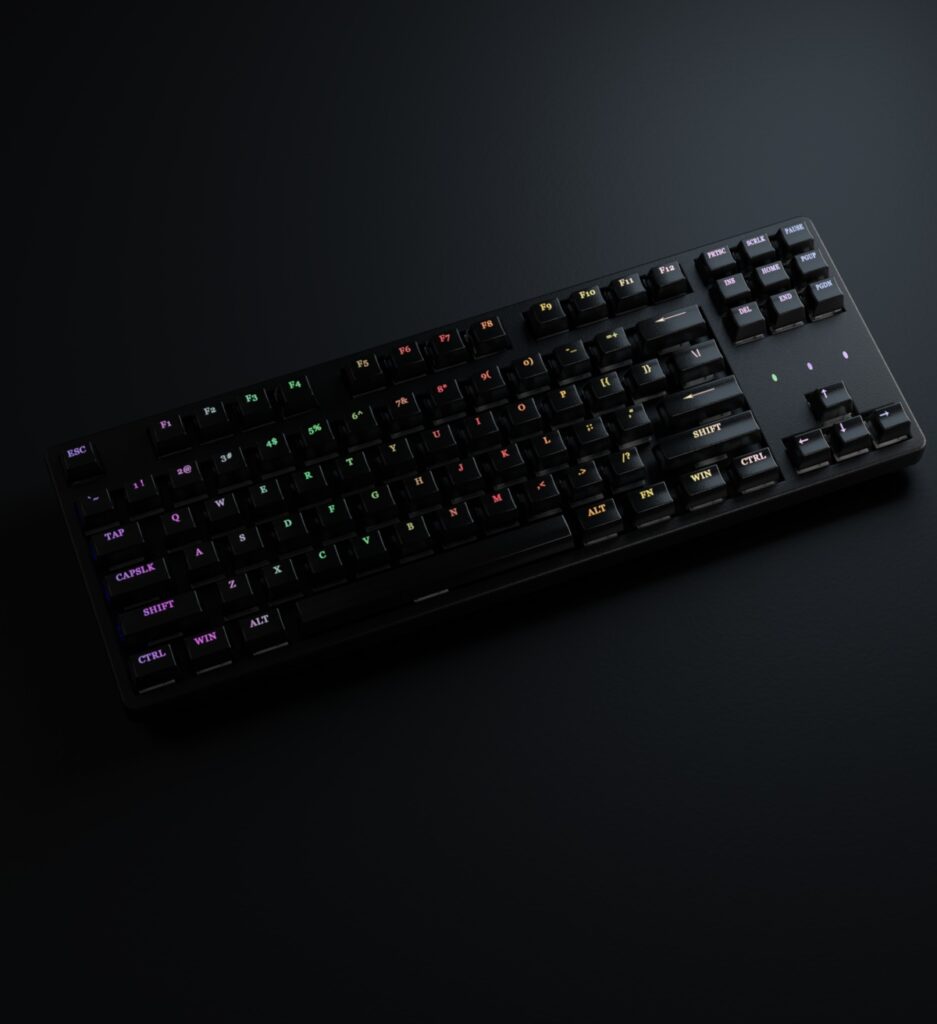
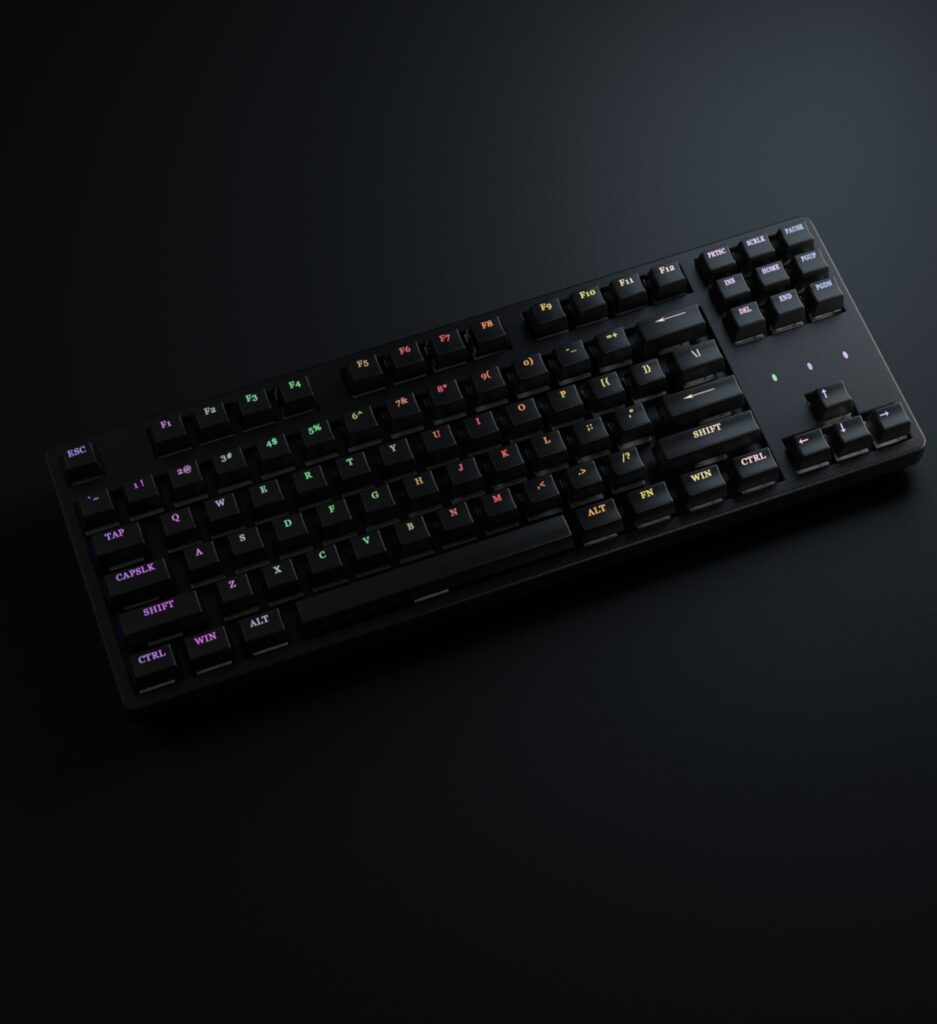
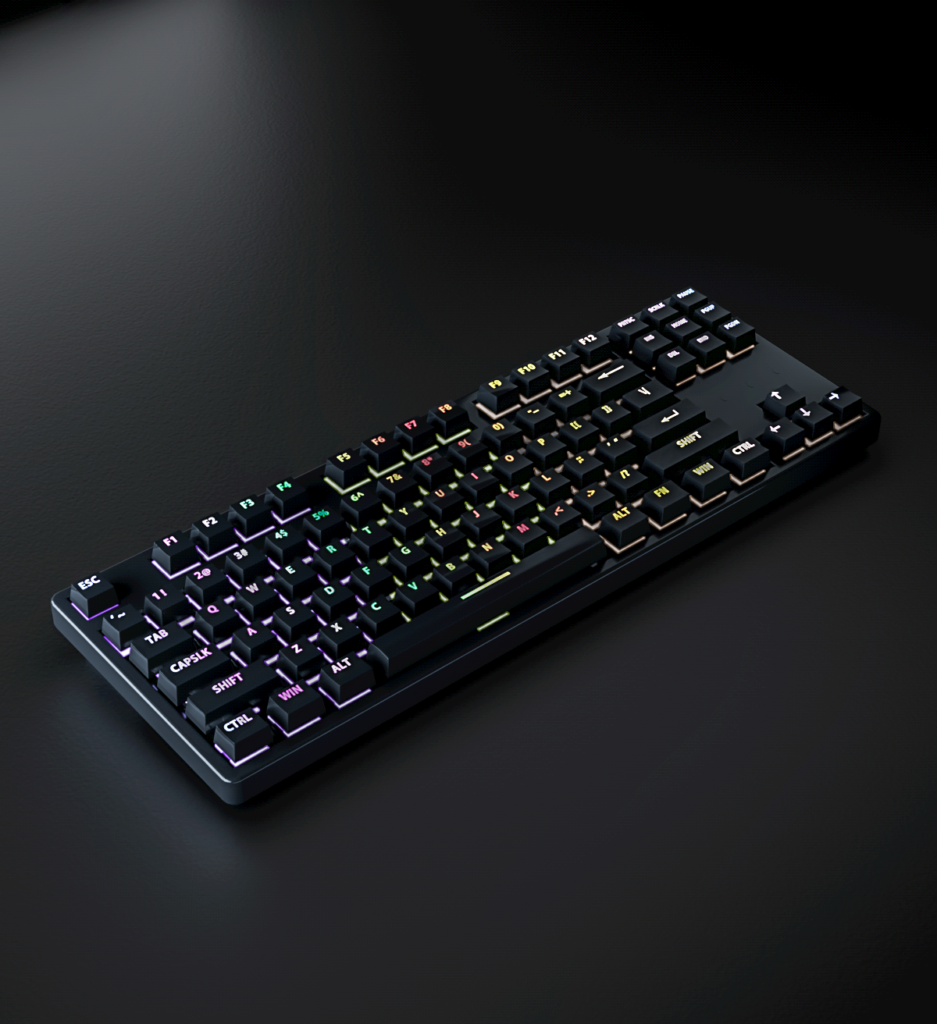 14. You can adjust different lights, angles, and various rendering values to achieve your ideal look. Of course, on this basis, you can add some breathing lights, or decorative lights.
Now that you have finished designing your own keyboard, have fun!
MORE GOOD IDEAS HERE.

