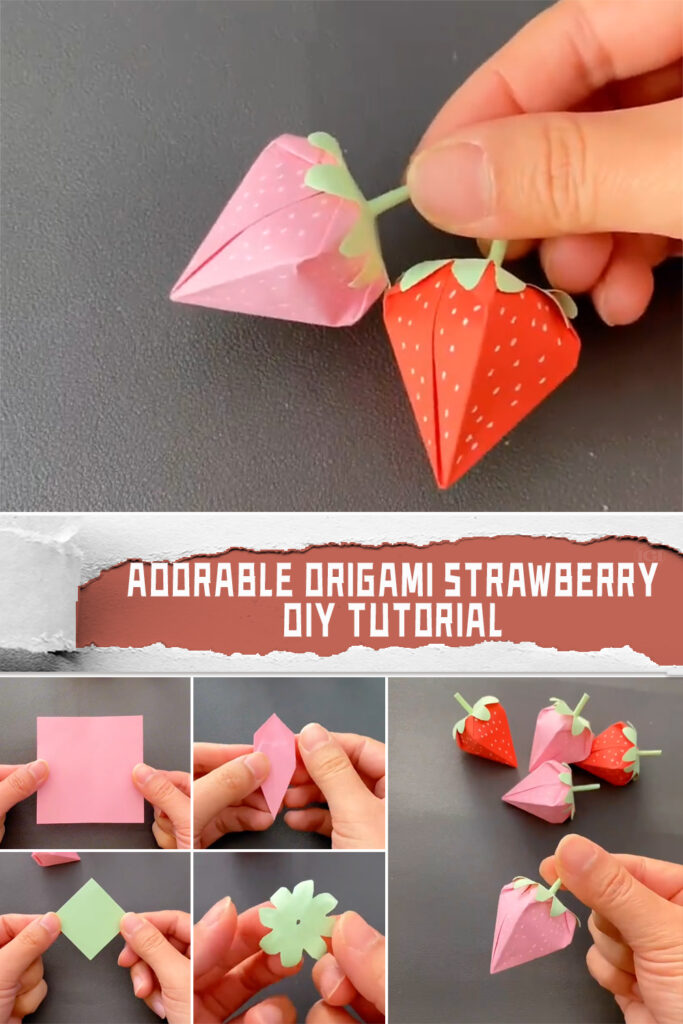
Origami, the art of paper folding, is not only a relaxing and creative activity but also allows you to create beautiful objects with just a few simple folds. Among the myriad of origami designs, the origami strawberry stands out as a delightful and charming creation. In this essay, we will explore how to create your very own adorable origami strawberry in just a few easy steps.
Firstly, gather your materials. You will need a sheet of pink colored paper for the main body of the strawberry. This will form the fleshy part of the fruit. Next, prepare a smaller sheet of green paper for the leaves and another green sheet to roll into the stem.
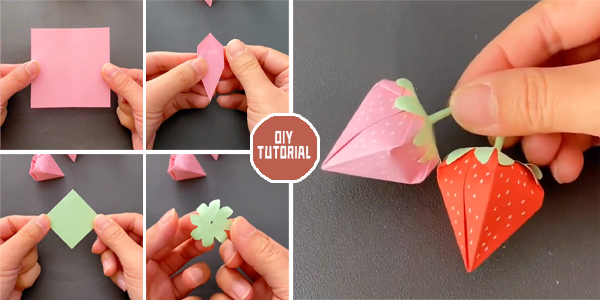
1..Begin by following the instructions in the provided video to fold the pink paper into the shape of the strawberry’s fleshy segments. Pay close attention to each fold to ensure accuracy and precision. This step forms the core of the strawberry.
2. Next, take the smaller green paper and carefully cut it into leaf shapes according to the instructions in the video. These will serve as the strawberry’s leaves, adding a realistic touch to your creation.
3. Now, take the third sheet of green paper and roll it into a thin tube to create the stem of the strawberry. This step adds dimension and detail to your origami fruit.
4. Finally, using a dab of glue, carefully attach the segments, leaves, and stem together to form your completed origami strawberry. Take your time with this step to ensure everything is securely fastened.
And there you have it – a fun and adorable origami strawberry! Display it proudly or give it as a charming gift to brighten someone’s day. Enjoy the process of creating your own little piece of fruity art through the ancient craft of origami.

